
Looks Great keep the pic's comming
Results 41 to 50 of 93
-
11-12-2012, 06:40 PM #41WMCGuest
-
02-26-2013, 09:11 PM #42Member

- Join Date
- Feb 2013
- Posts
- 38
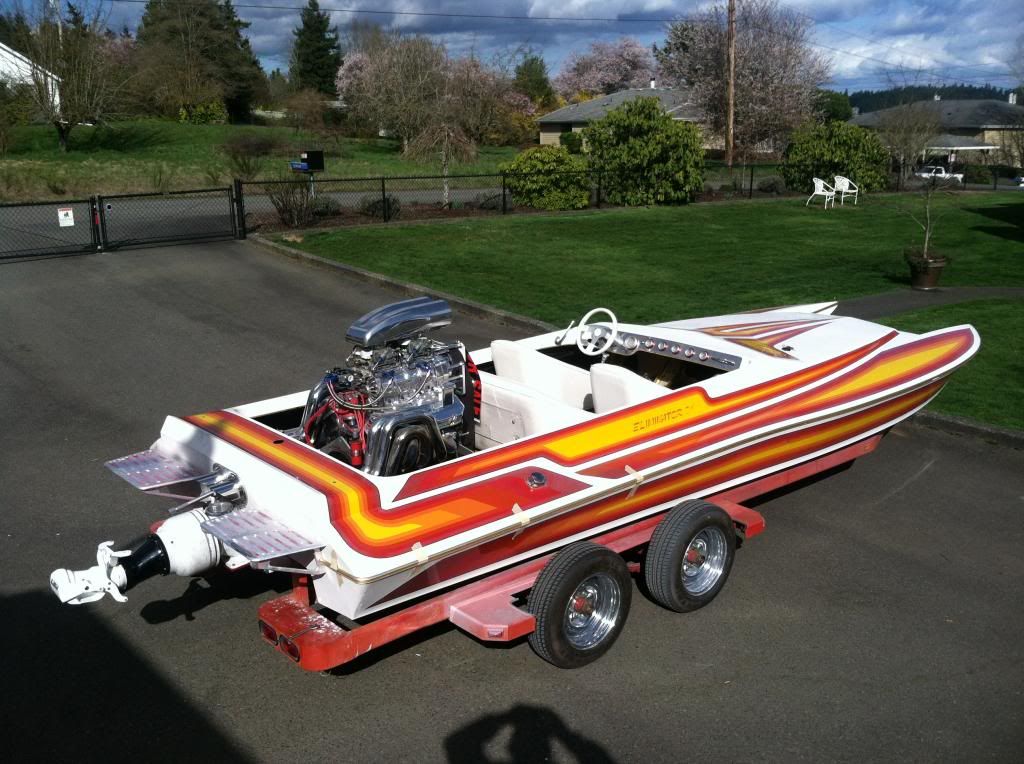
Re: Here I go again, another build but this time a 21' Daytona
That is gonna be one sick boat when done! Very nice! Your son is lucky to be helping his old man with a project. I could only wish.
Sent from my DROID RAZR using Tapatalk 2
-
04-10-2013, 10:06 AM #43Junior Member
- Join Date
- Oct 2012
- Location
- Alice, TX
- Posts
- 22
Here I go again, another build but this time a 21' Daytona
Any updates
Sent from my iPad
Aggie Class of '97
-
04-10-2013, 07:09 PM #44Member
- Join Date
- Oct 2012
- Location
- The frigid north of Silverdale, WA
- Posts
- 54
Nutz. Sorry, I've completely forgotten about this. Been busy and in fact a blowing it apart right now for powder coating and polishing. While apart I' m going to begin wiring and plumbing as I have a general idea of what I want to do. I'll try to update this this weekend to get it where it is at the moment. Thanks very much for the interest.
-
04-13-2013, 08:15 AM #45Member
- Join Date
- Oct 2012
- Location
- The frigid north of Silverdale, WA
- Posts
- 54
Okay, here are some updates since the last time I posted up here.
I took last summer off and after our big Skagens End of Summer event, I got back at it...........but!
I was so proud of how good the transom turned out and foolishly assumed that if I used a conventional process used if I was going to paint the transom (ie... catylized urethane sealers, 2 part epoxy primer surfacers..etc...) that it would be that much better when I shoot the gel coat.
Well, what's the old saying about "assumed"....yup I done made an ass out of me...LOL
Turns our Gel wont work over all that................sooo, even though I spent a regoddamndiculas amount of time getting that baby smooth, I had to sand all that stuff off with some 80 grit....
Okay, with all that sanded off I took my first swing at spraying gelcoat. Todd Griggs matched some poly gel for me that was spot on. Since you have to seal off any air to get the gel to harden, I was torn between adding wax, spraying PVA over the gel or adding some DuraTech. I talked to Fiberlay who are fantastic people to deal with (they have a great website) and he got me some Orca AirDry which is similar to Duratech but doesn't tint the gel. You add it at 35% to the gel for the first couple coats and then 50% after that. It air drys and there's no need for wax or PVA. I also added 5% styrene to it as well to this it for spraying.
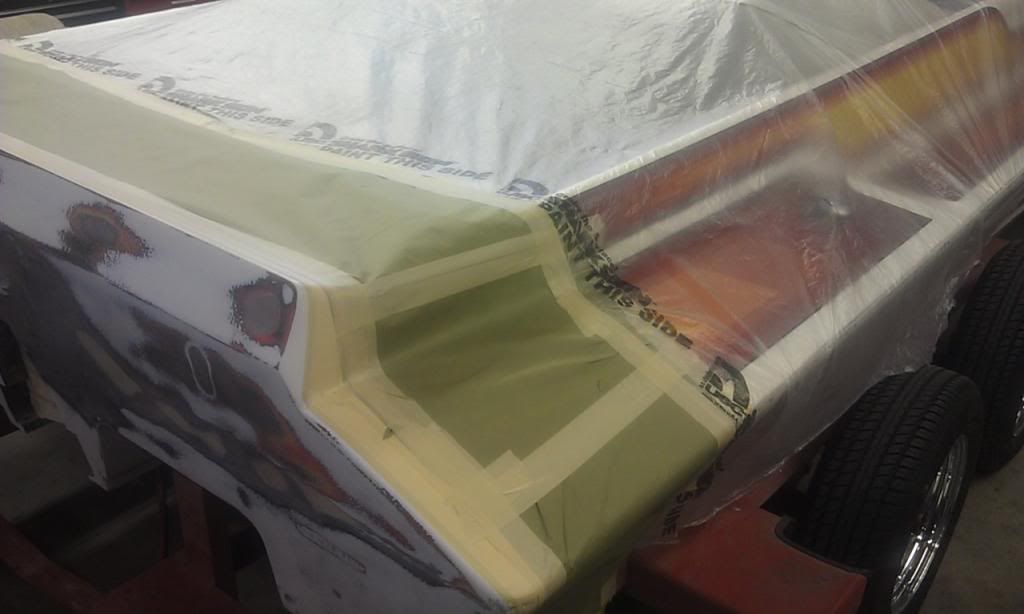
I sprayed it on as suggested and it lays smooth. I had a bit of a problem as I tend to like to get close when painting to really see the paint laydown. I've done this for years BUT... Gel is a a lot different. Getting too close you could see the air blowing the gel around as it layed. I would get quite a bit of orange peel that way. They recommend 12" to 18" which I just couldn't remember to do and kept creeping closer. Due to this I ended up with some runs but felt pretty good when I quit.
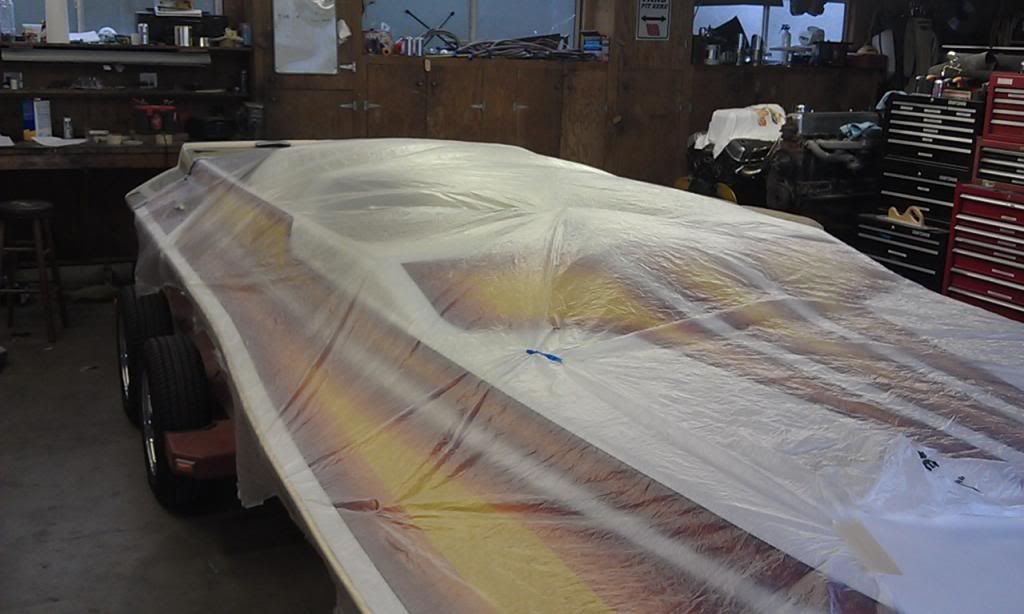
The next day I walked out there and was completely disappointed. It looked awful. Very orange peeled, splotchy and didn't look good at all.
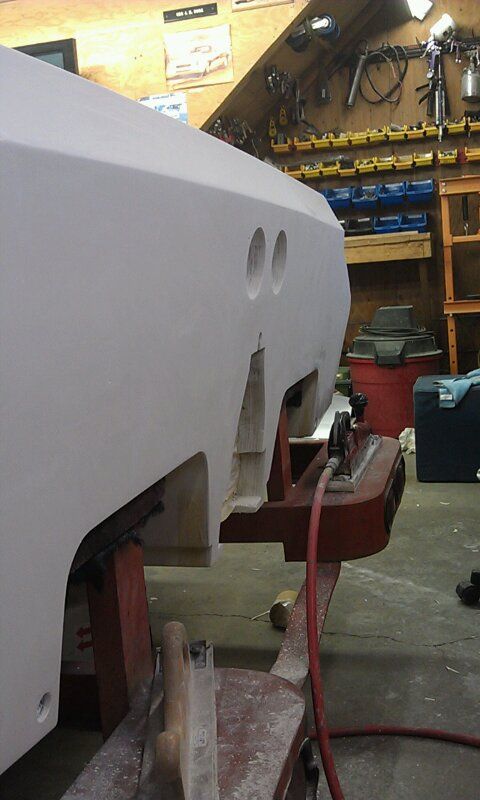
Well, sanding made all the difference and I gotta say it looks great. I knocked it down with some 400 and will wait to continue color sanding and buffing till after I get done working on the boat and will buff the whole boat. HUGE thanks to Todd Griggs for all the time on the phone walking me through it.
Next up was to modify my pedal assembly some more. With my long legs I had a hard time with getting my left foot on the dead pedal. So, I redrilled the mounting holes in the pedal and moved it down. That helped a bunch and makes it feel much more natural. At the same time, I needed to make something for Jan to put her feet against. Ended up picking up some of the BMX axle pegs that the kids all have to help them do tricks. One of those on each side of the stringer should really help her feel comfortable and secure

Also picked up new steering assembly from JBP.
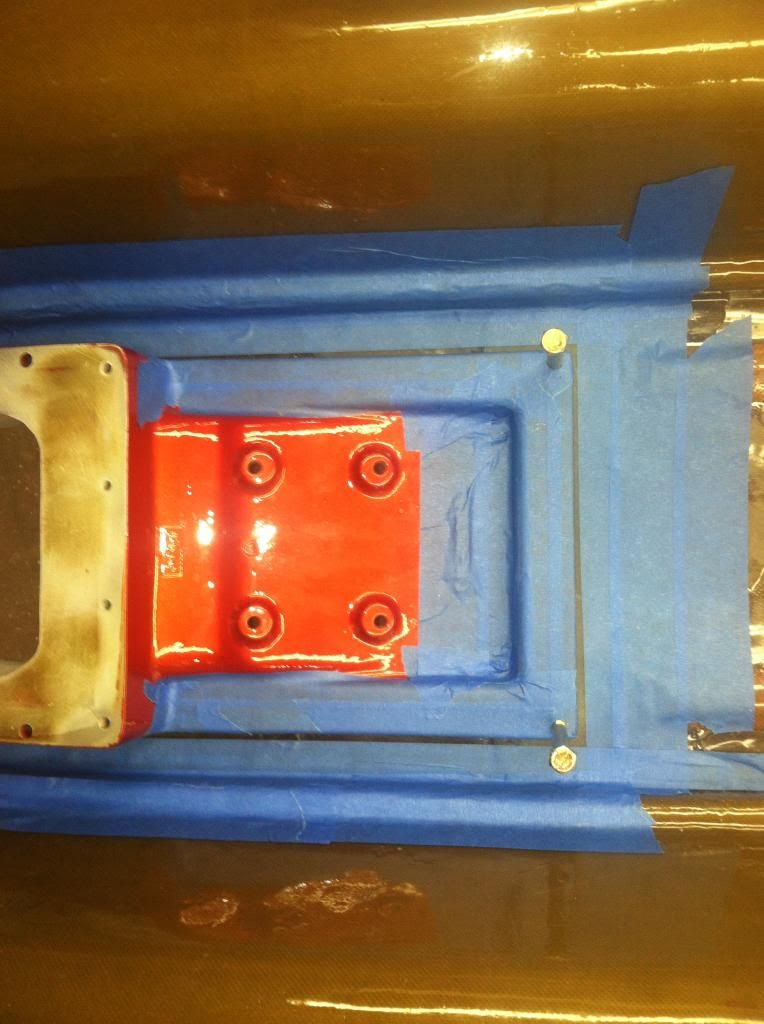
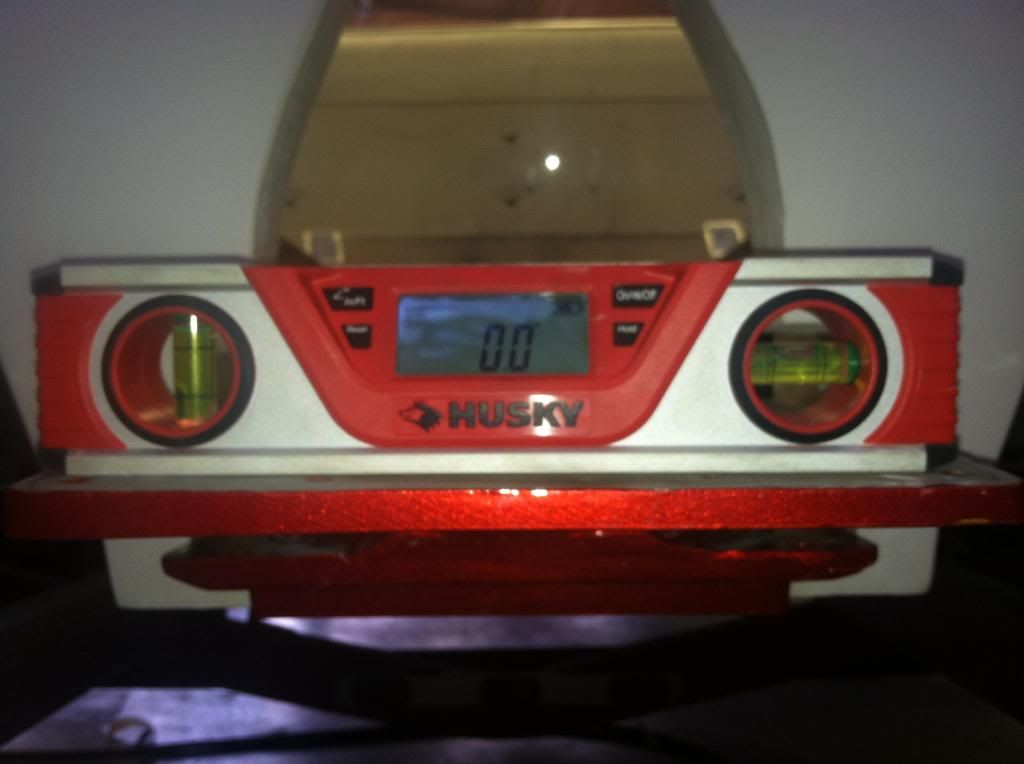
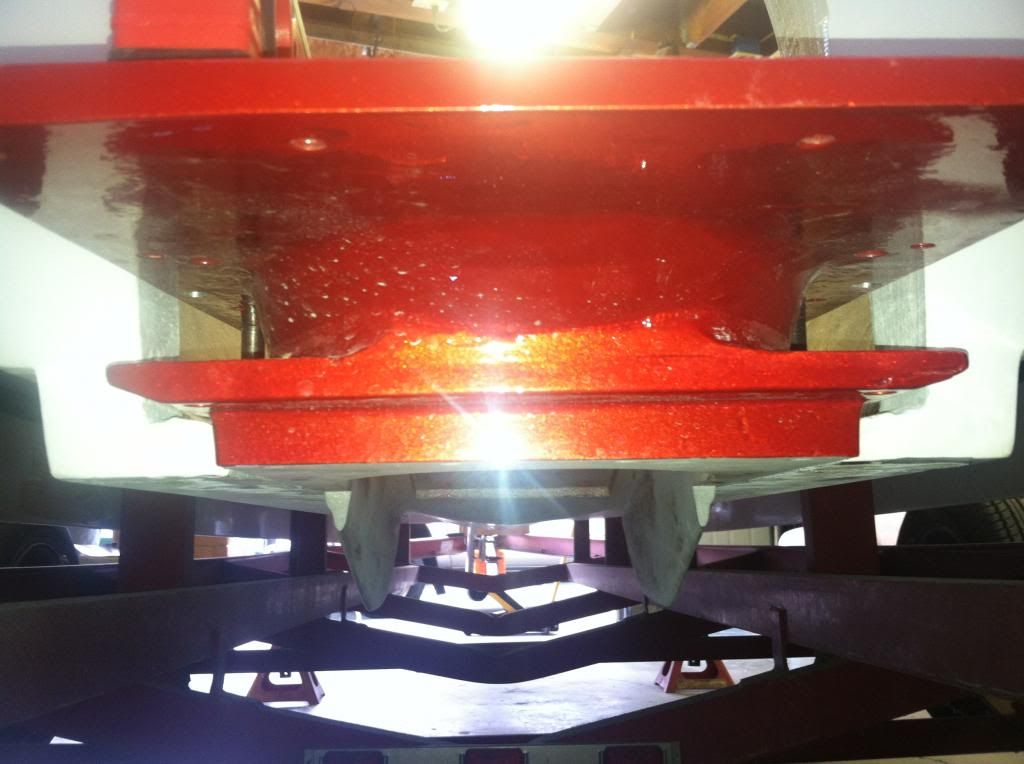
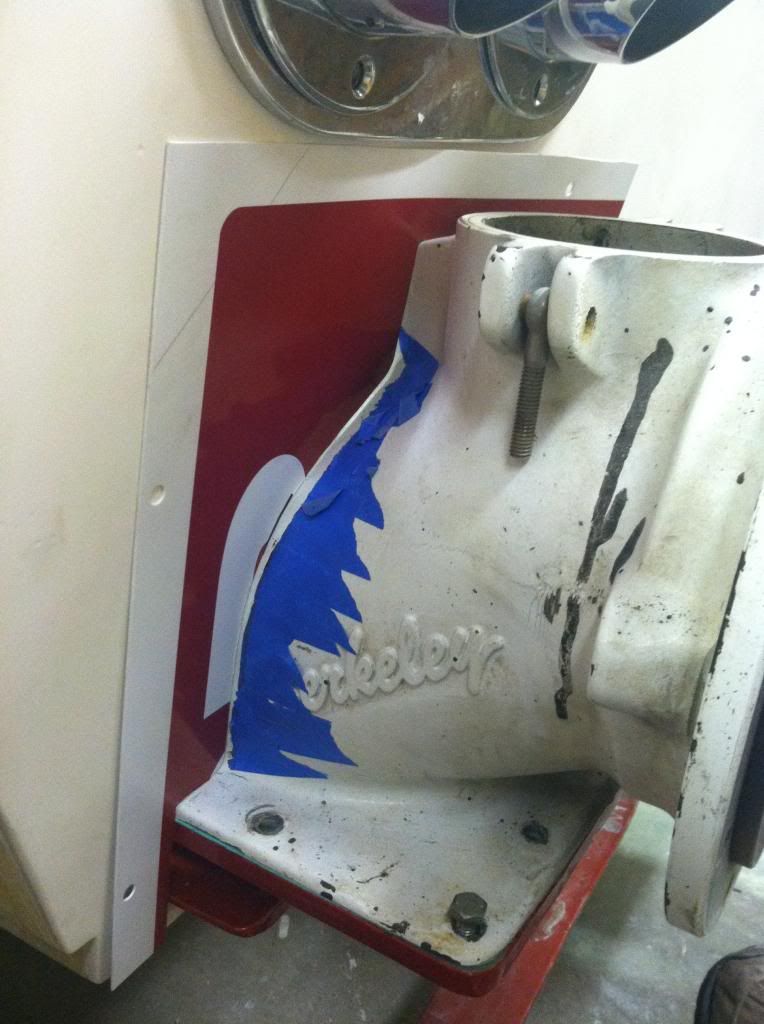
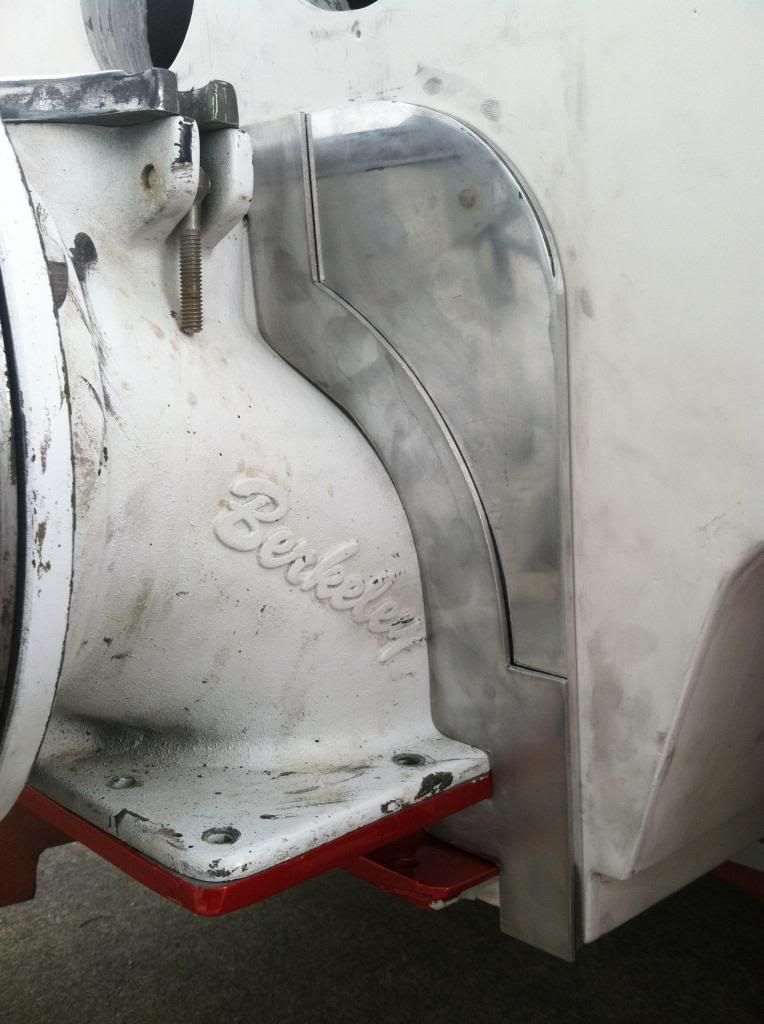
Next we (actually Ian did all the work) made the first attempt at installing a intake that we had Chris at B1 Racing machine for us. Chris was a big help too as he talked us thru the process by phone and email. Measured once, twice and a dozen more times to make sure it was straight with the keel, centered and at the right height and after multiple in and outs to make sure we could duplicate it without having to adjust again, it was ready for epoxy.
That Seagoing epoxy is some stiff sticky stuff!!!
But, it turned out pretty darn good iff'n I say so myself.

With that done we could make the final fits on the JBP motor plates. I also picked up a used set of billet swim steps coming that were advertised elsewhere. They're hot pink so I dropped them off with Austin at AHP coatings to get that nasty pink stripped off.Last edited by jrork; 04-13-2013 at 09:53 AM.
-
04-13-2013, 08:57 AM #46Member
- Join Date
- Oct 2012
- Location
- The frigid north of Silverdale, WA
- Posts
- 54
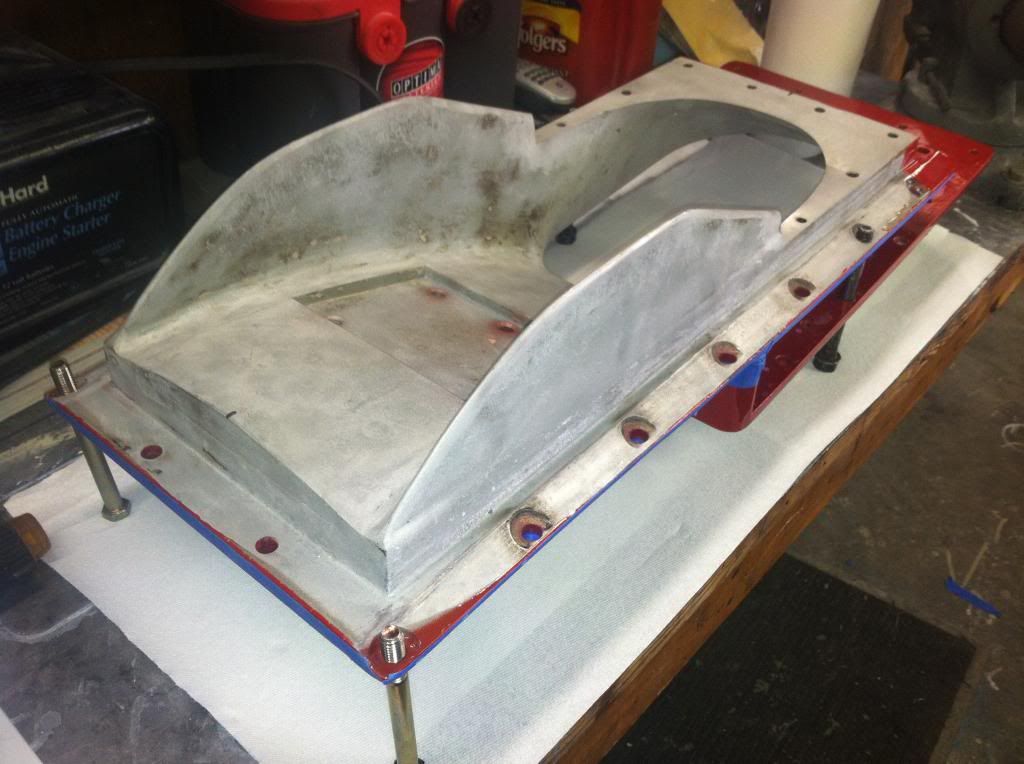
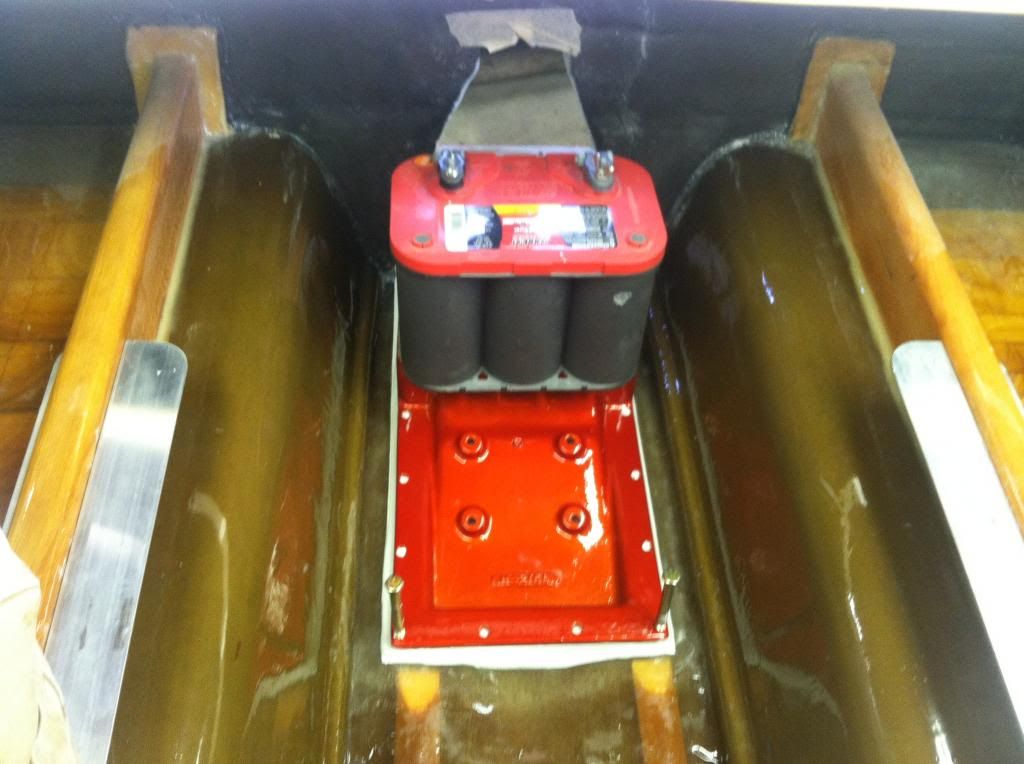
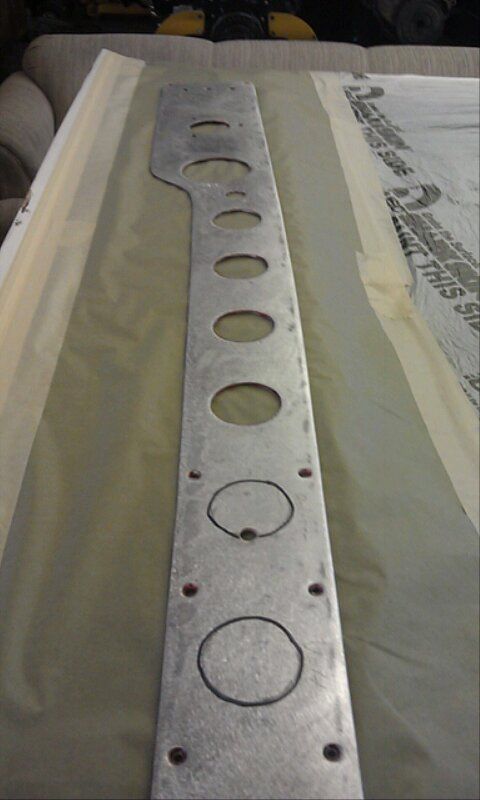
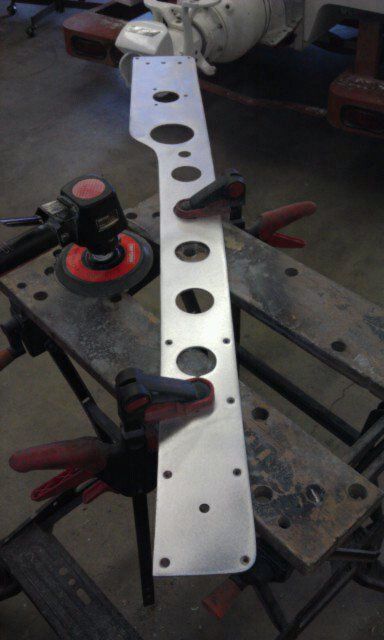
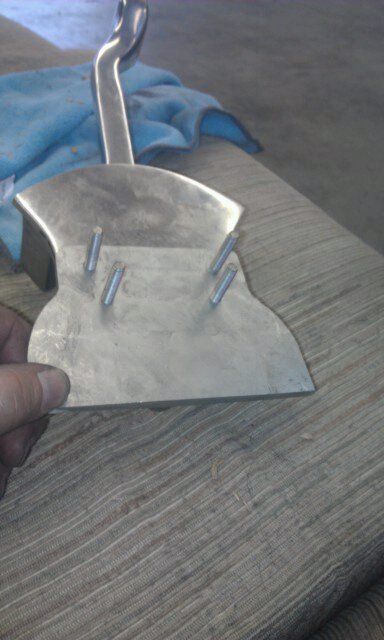
We then began building some 3 piece transom plates. Again, Ian knocked it out of the park with these as well and being 3 piece, it'll make it really easy to pull the pump for mods without disturbing the transom seal.
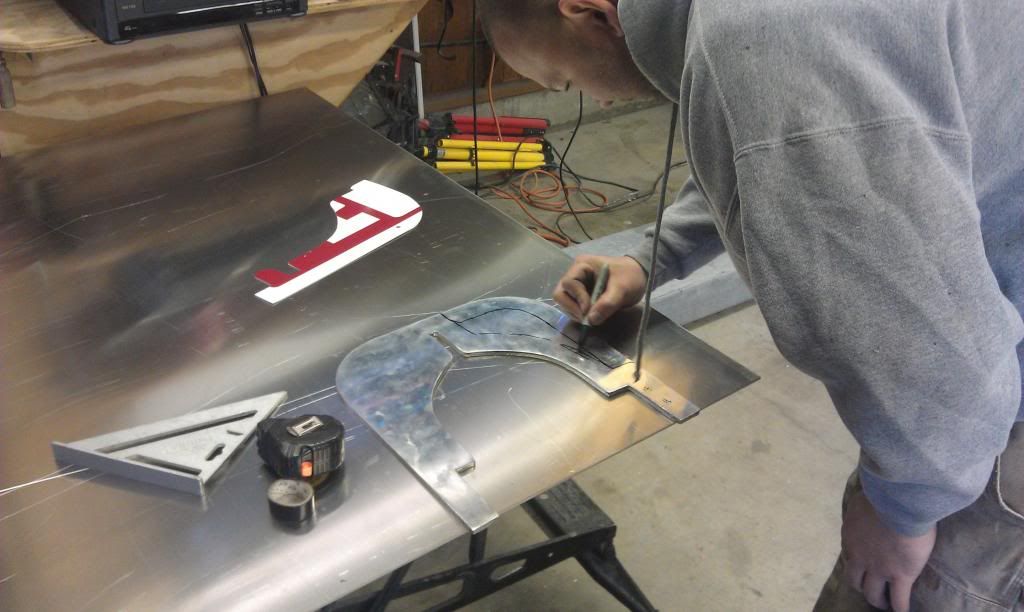
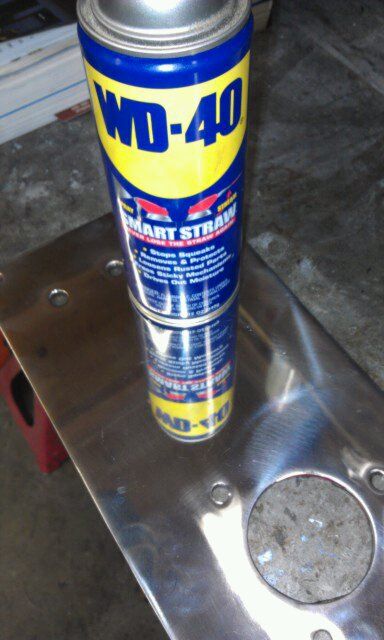
Excuse the finger prints. That raw aluminum is dirty
Last edited by jrork; 04-13-2013 at 09:55 AM.
-
04-13-2013, 09:28 AM #47Member
- Join Date
- Oct 2012
- Location
- The frigid north of Silverdale, WA
- Posts
- 54
Next up was to mock up the rest of the transom including the swim steps (yet to be polished)
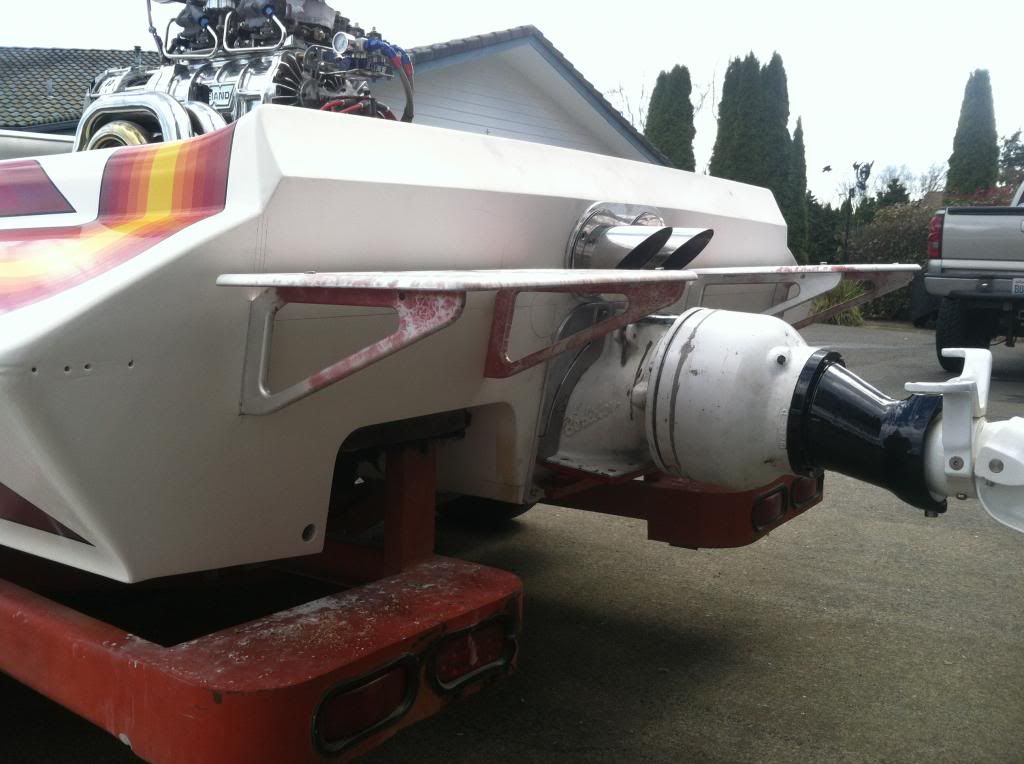
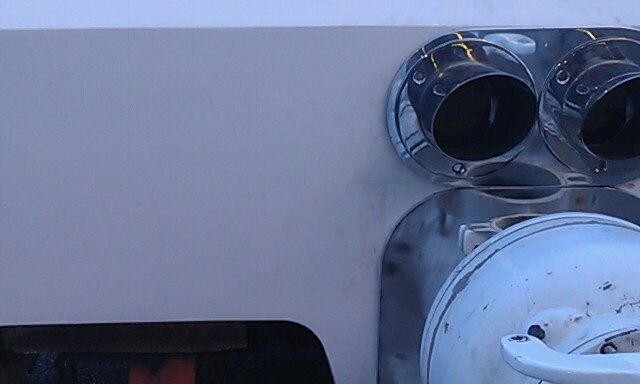
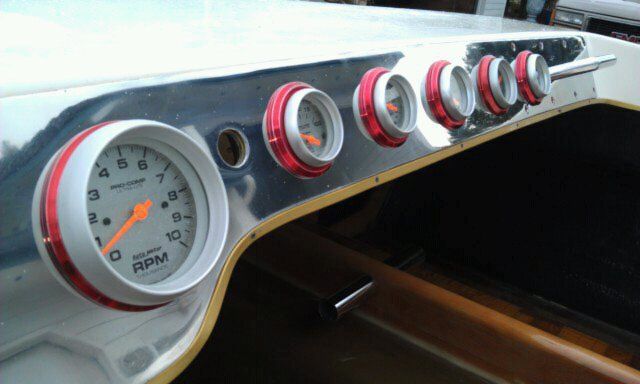
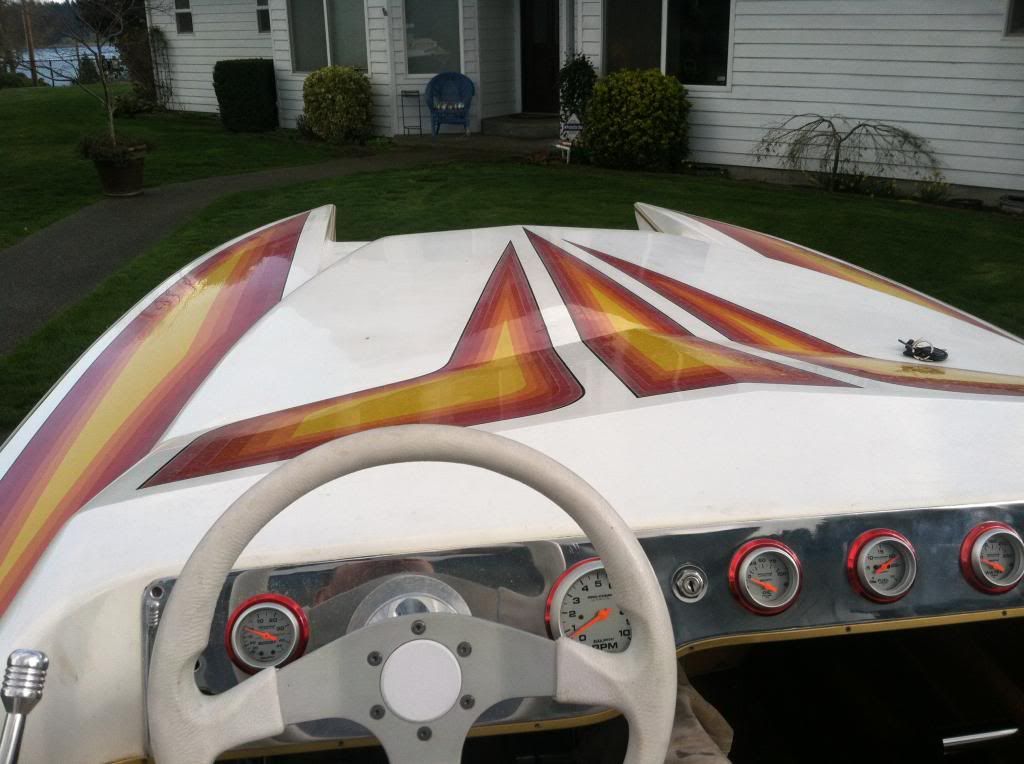
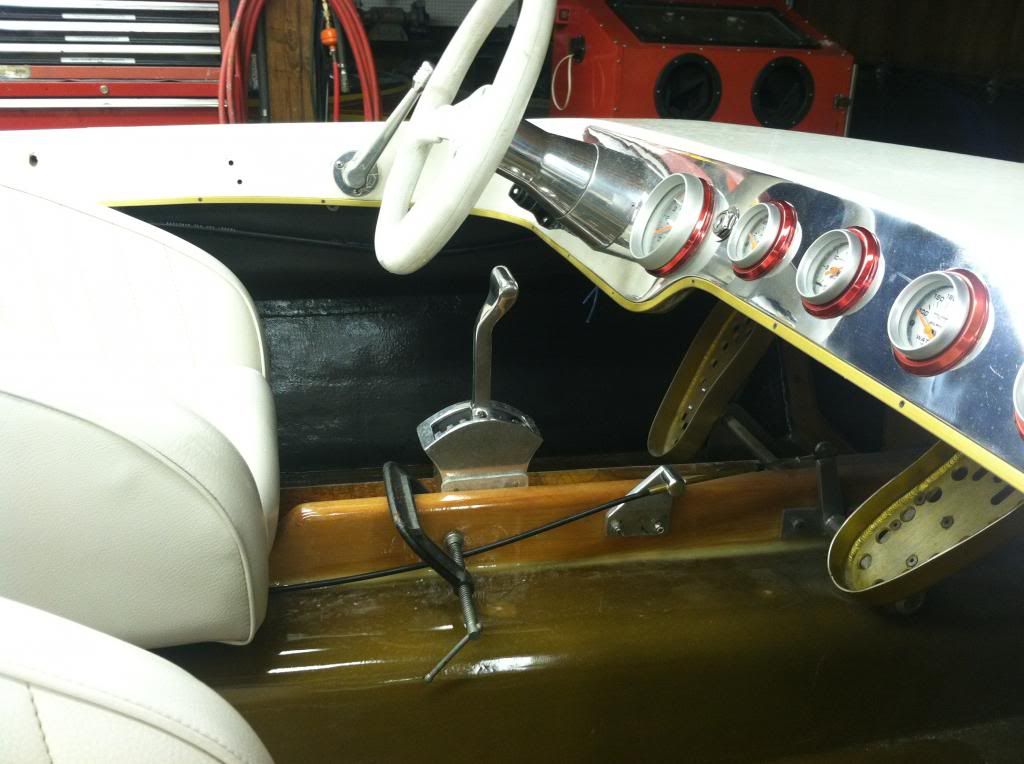
I also punted on the Carbon Fiber dash. We discussed it and given that nothing else was black on the boat, it looked out of place. So, went after making a Stainless dash panel that would be blinging to match all the rest of the polished metal. Damn that stuff is tough to polish! Also added boost, oil pressure, fuel pressure, water temp, volt and fuel level gauges.
While I was at it, I built a riser out of some aluminum to raise the diverter handle so it would clear the tunnel tops.
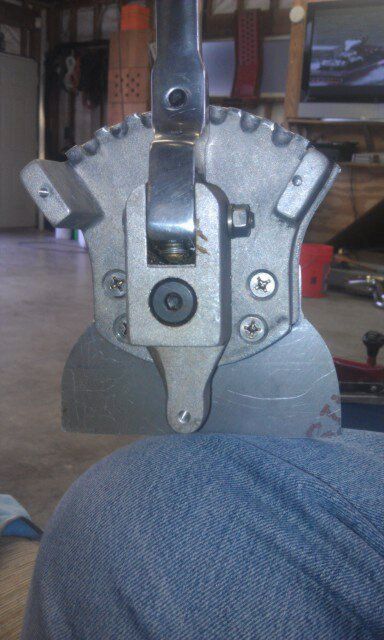
Motor setting where it needs to, pump and steering rigged in place as well as the swim steps and rub rail.
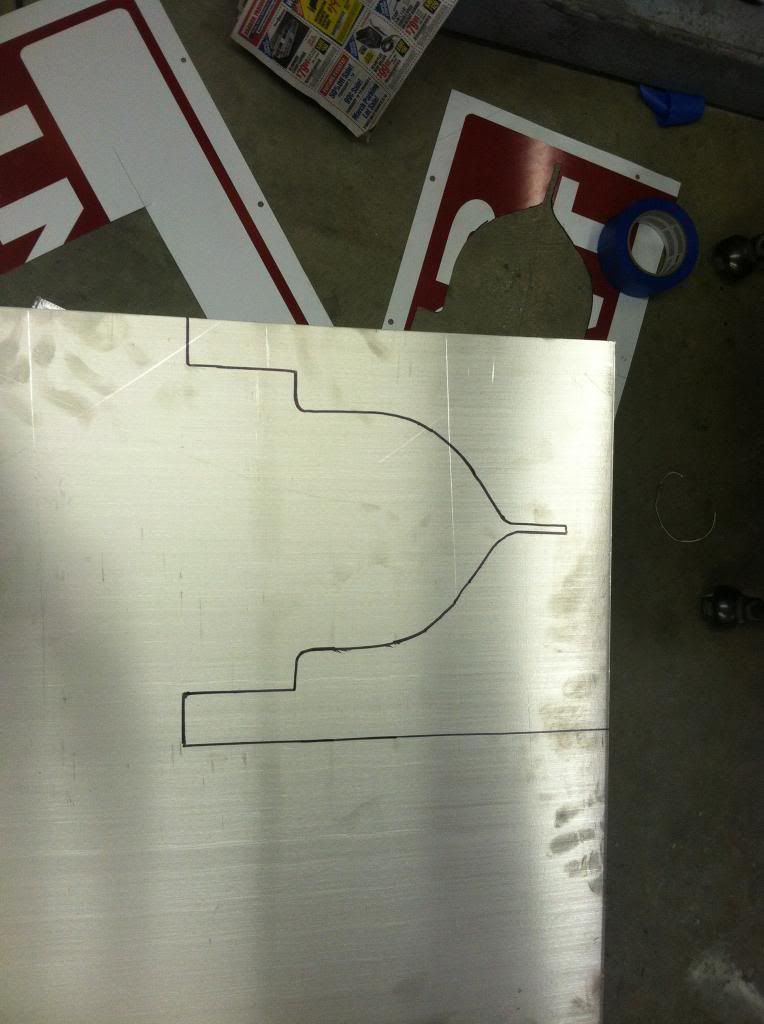
In the previous pictures you can also see my first cut at the blower belt cover. I like to use for sale signs for pattern material as they're cheap, super easy to cut and hole their shape better than paper or cardboard.
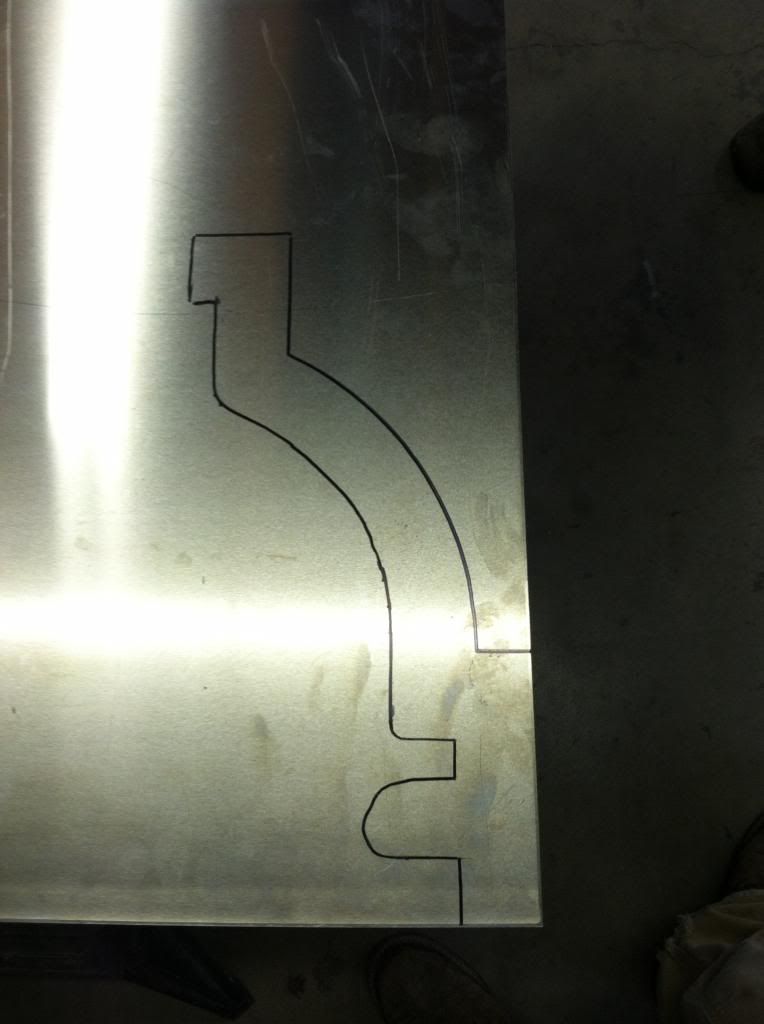
And now transferred over to some 1/8" aluminum plate.
Next up is to get some 4" aluminum tig'd to the sides and then polishLast edited by jrork; 04-13-2013 at 09:39 AM.
-
04-13-2013, 09:38 AM #48WMCGuest
Re: Here I go again, another build but this time a 21' Daytona
Very very nice work. Jeep the updates coming.. looks great
Sent from my XT907 using Tapatalk 2
-
04-13-2013, 09:43 AM #49Senior Member
- Join Date
- Oct 2012
- Posts
- 19,128
Here I go again, another build but this time a 21' Daytona
Ya jeep the updates coming lol
-
04-13-2013, 10:00 AM #50Member
- Join Date
- Oct 2012
- Location
- The frigid north of Silverdale, WA
- Posts
- 54
Thanks very much and thanks for the help getting signed back on.
That's a good start on the updates. I'm headed out to the shop now to pull the motor and begin breaking the boat back down for powdercoating and getting the pump double drilled by Matt and Darin at White Flag Racing.
Still have to mount the AIS water/meth system and being wiring and plumbing. Then it's assembly time.
Still dont know what I'm going to to with the trailer. It's super ugly but may have to stay that way this summer as I have to finish my telescoping tongue (cut the old tongue off) first.
In the meantime, we picked up another boat for my wife. 1983 AquaLark Mni. 8' long and 4' wide. LOL....gonna be a blast!


Last edited by jrork; 04-13-2013 at 10:08 AM.

 Reply With Quote


 Posting Permissions
All times are GMT -7. The time now is 03:20 AM.
 vBulletin Skin By: PurevB.com
Powered by vBulletin® Version 4.2.5
Copyright © 2024 vBulletin Solutions Inc. All rights reserved.
Extra Tabs by vBulletin Hispano
Copyright © 2024 vBulletin Solutions Inc. All rights reserved.
Extra Tabs by vBulletin Hispano
Bookmarks