


All cleaned up and ready to get after putting it back together
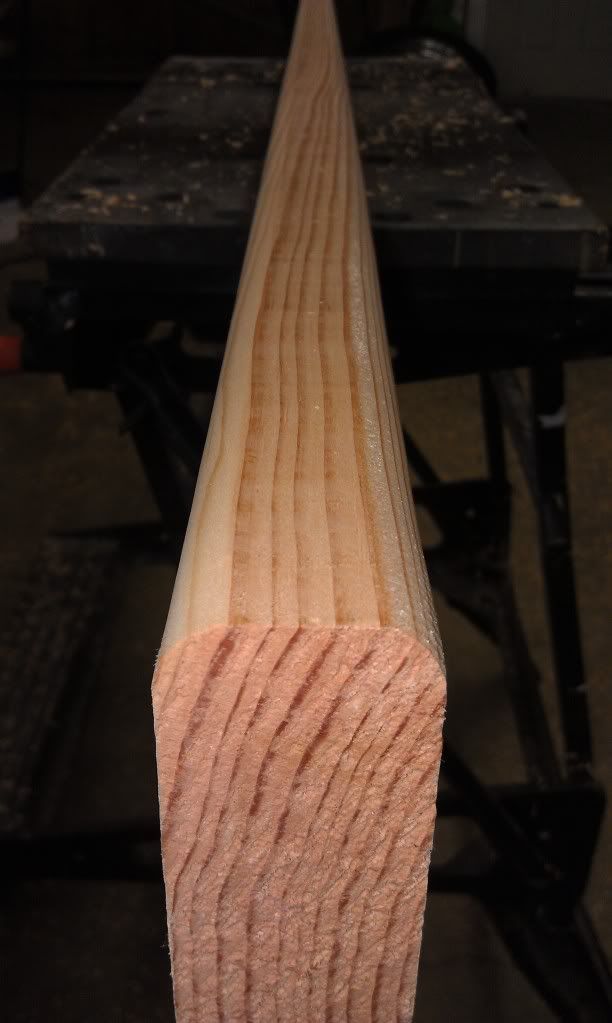
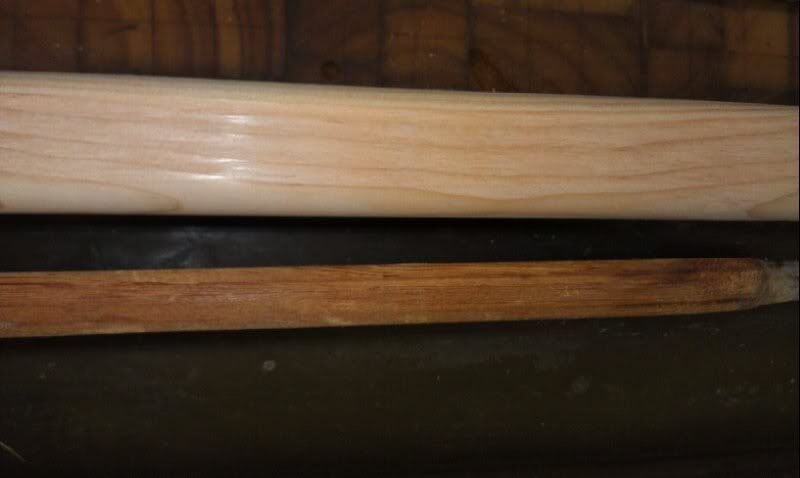
There’s a lumber yard close to us that deals with really nice stuff for Rich Folks houses so I went there and got some “Premium Grade” straight grain clear Douglas Fir Kiln Dried 2x4a.
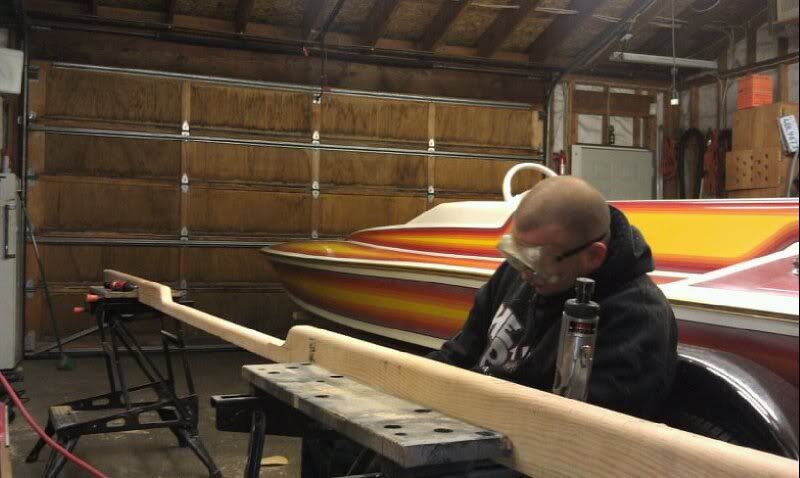
Routed the top with a round over bit
This oughta be more beefy than the old stringers..
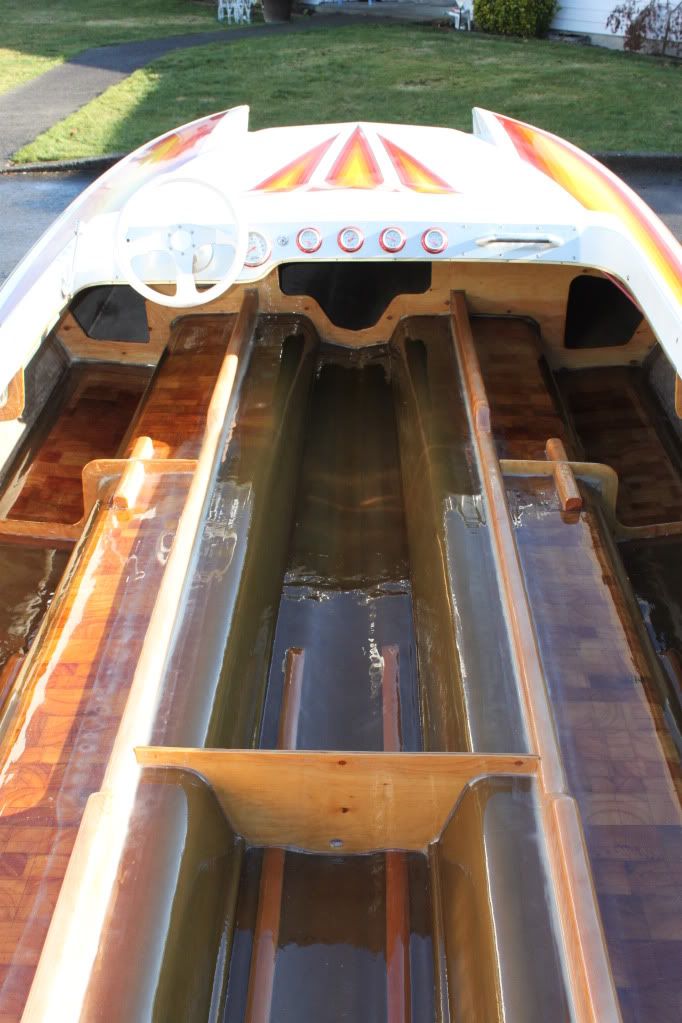
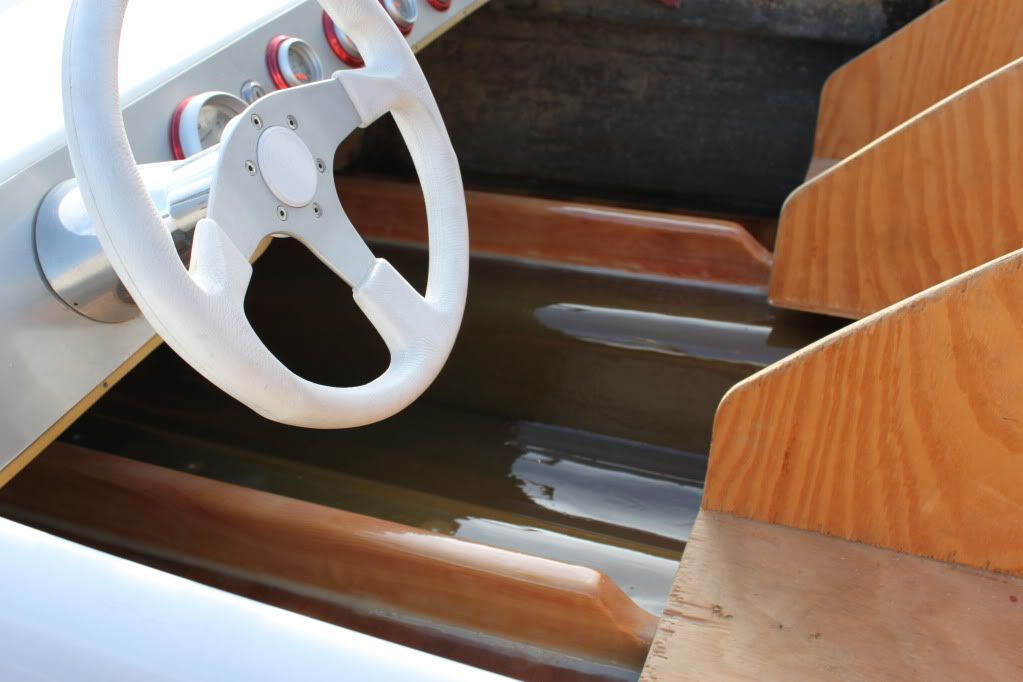
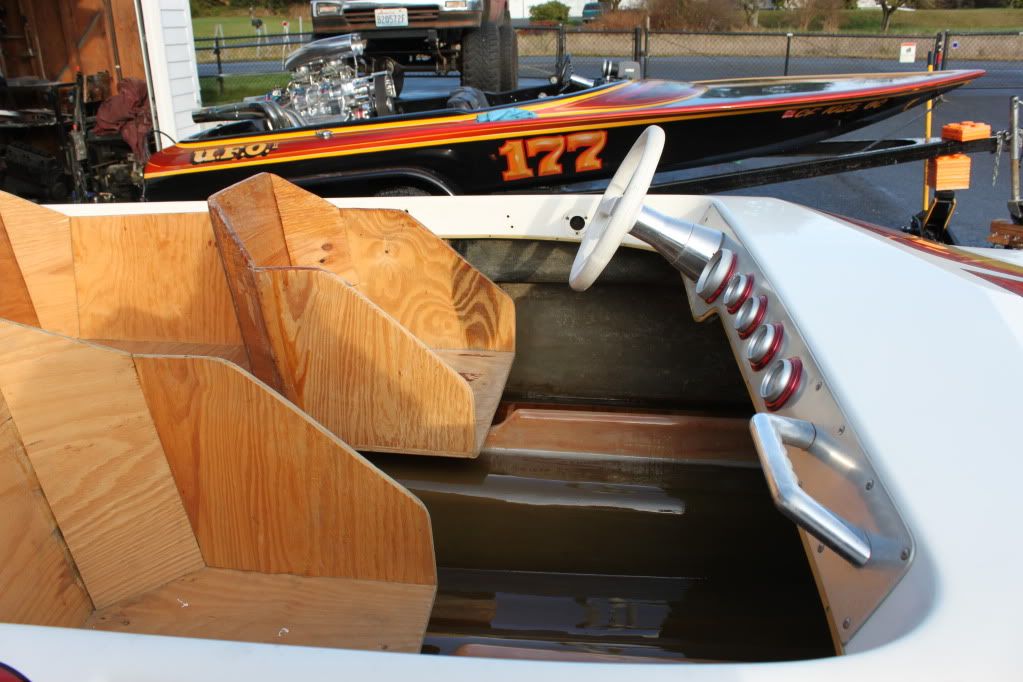
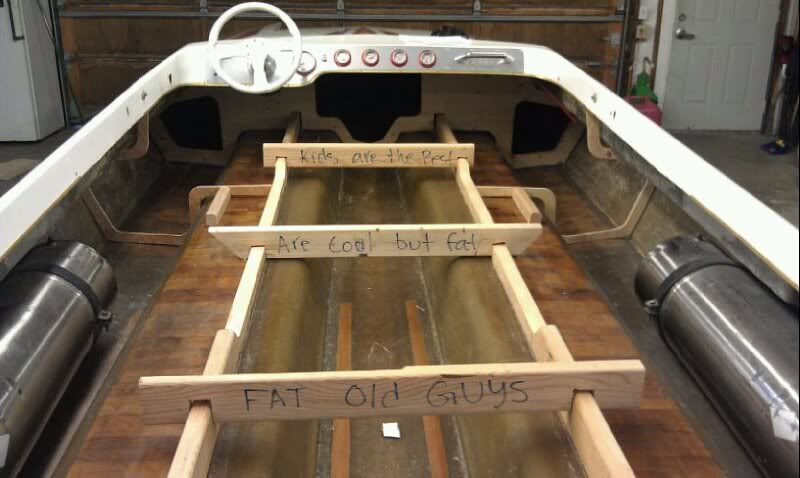
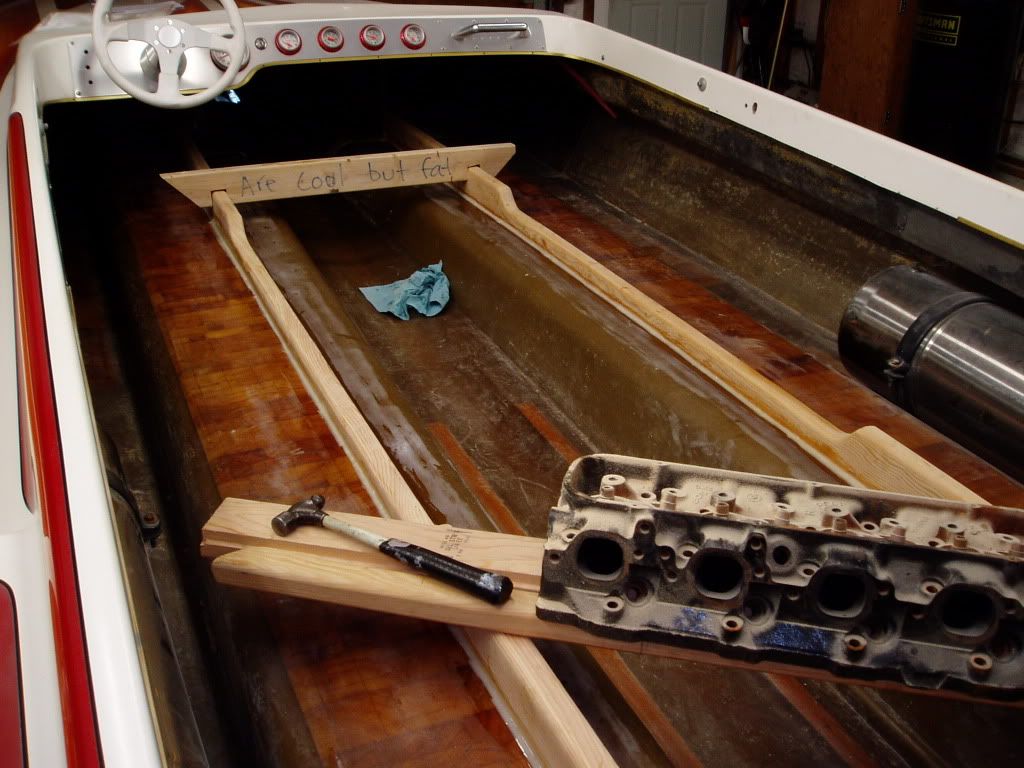
Got the stringers cut down to lower the seat and finished my gunnel supports. The supports now tie from the stringer, across the balsa reinforced tunnel across the balsa reinforced sponson and then tucks up to the gunnel where there is some 3/4" plywood glassed in.
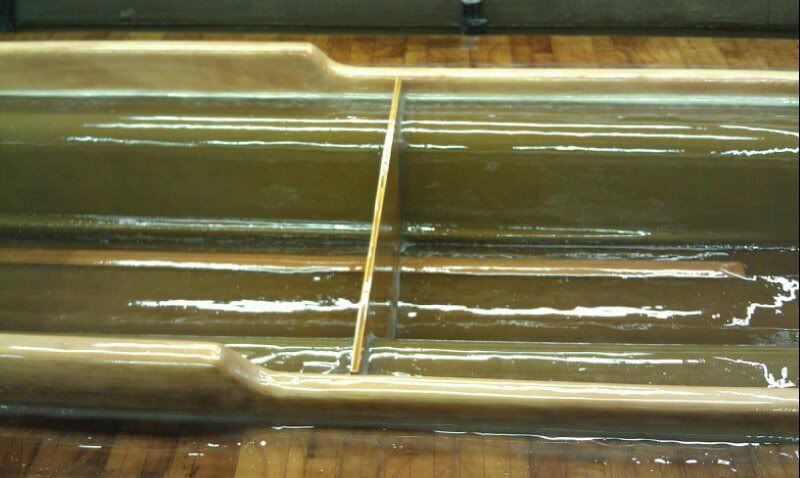
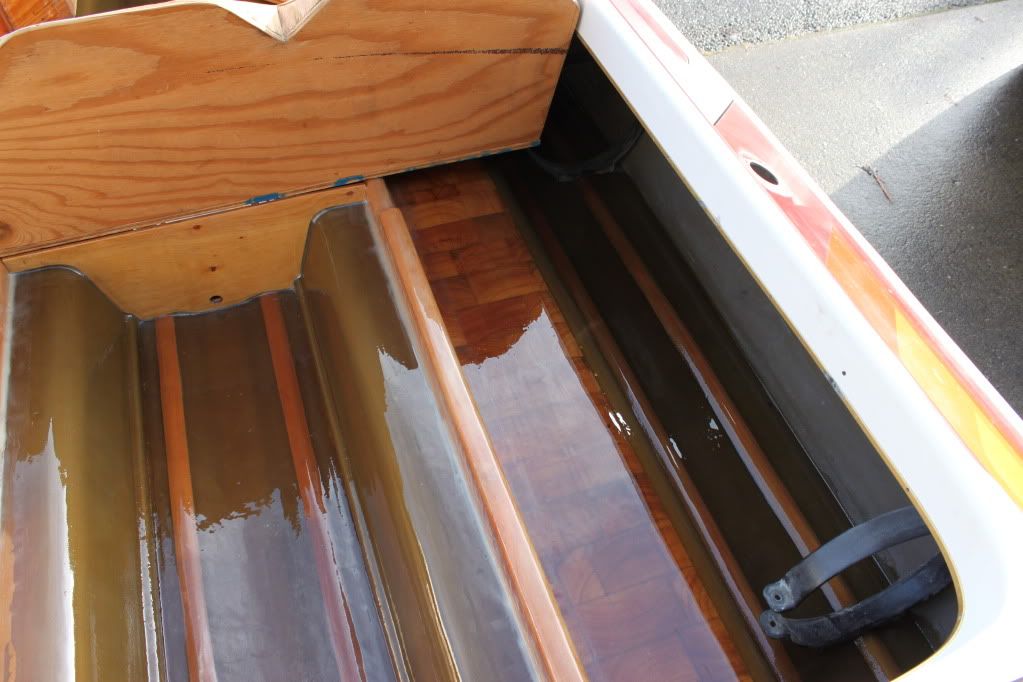
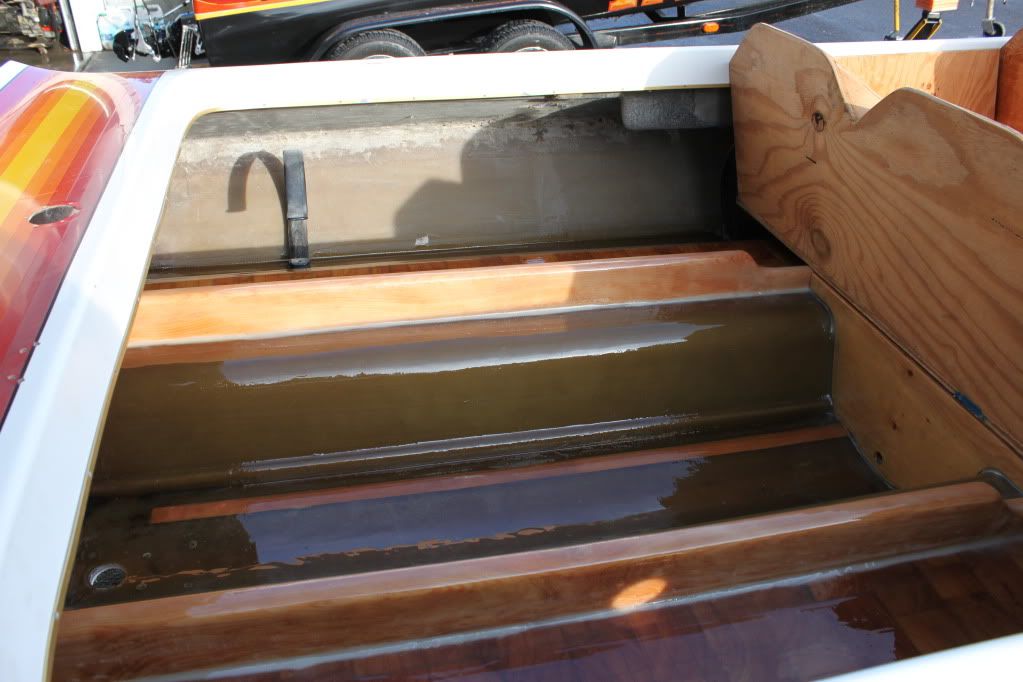
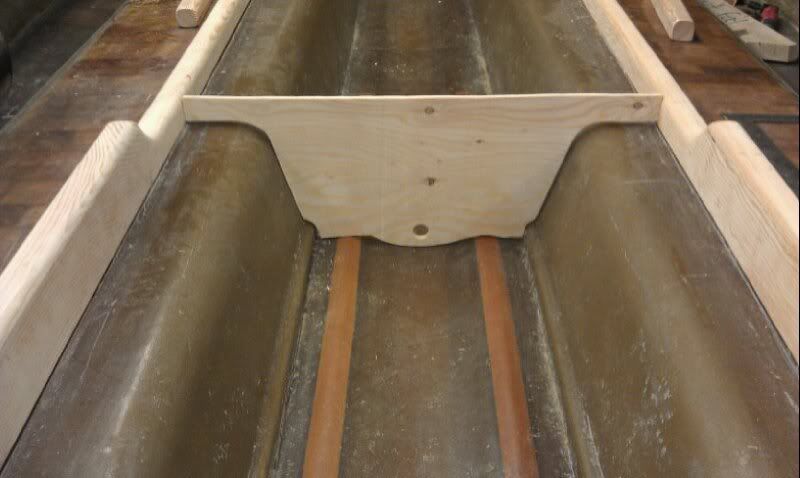
Knocked out a splash well bulkhead as well that ties to the stringers
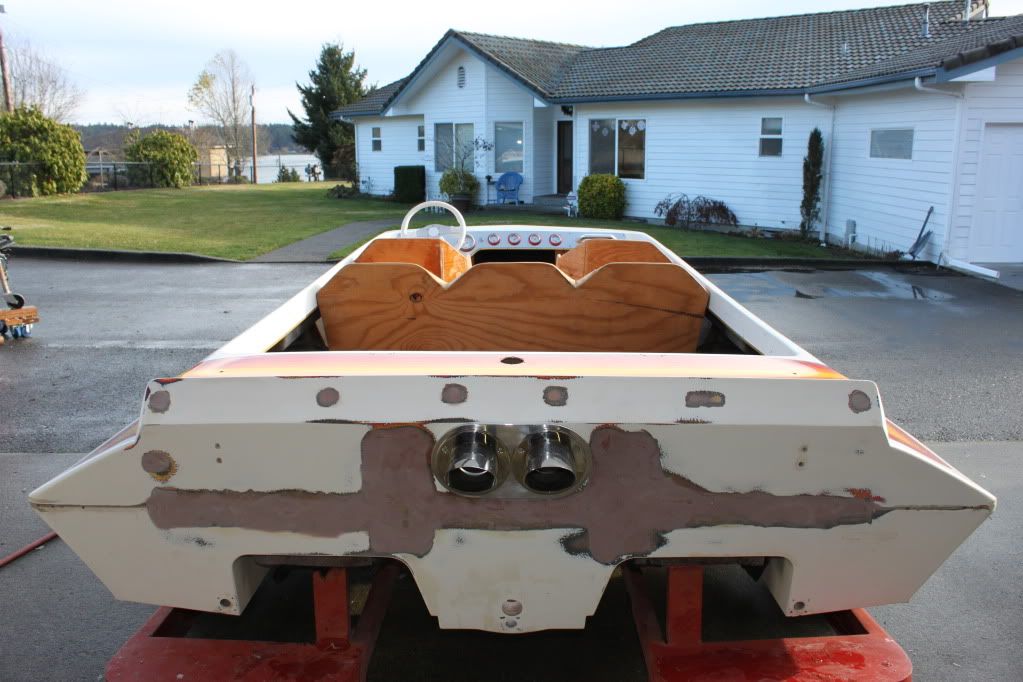
Started grinding on the transom to get ready to cap it as well as plug the old holes. Transom was incredibly sound. Only one spot about 1/2" x 2" where there was some rot right along where the deck and hull meet. Ground that all out and will be a super easy fix.
Funny, there were two little cracks up high on the transom and upon grinding those out we found where someone had drilled about 1/2" holes too high and so the stuck a dowel in there and then filled it with Bondo. The dowels pushed our with no bond whatsover.
We also found a couple more that were just filled with Bondo. All totaled I filled 32 5/8” holes in the transom with some resin soaked oak dowel.
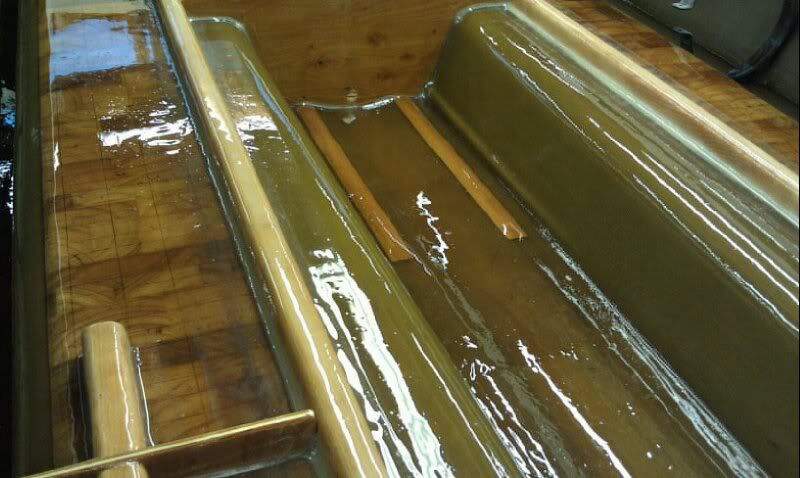
Got the stringers set in a bed of epoxy . HUGE thanks to my son Ian for the help. I quickly became the goffer boy and he did all the work....
Results 11 to 20 of 93
Hybrid View
-
10-28-2012, 07:05 AM #1Member

- Join Date
- Oct 2012
- Location
- The frigid north of Silverdale, WA
- Posts
- 54
-
10-28-2012, 07:12 AM #2Member
- Join Date
- Oct 2012
- Location
- The frigid north of Silverdale, WA
- Posts
- 54
The results are really cool and I couldn’t be happier or prouder of Ian. He was a huge help.
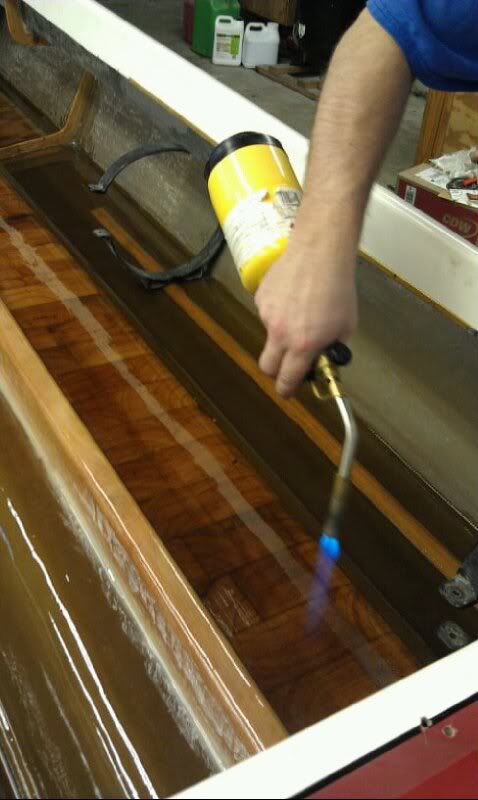
I’m a huge fan of Epoxy over regular Poly or Vinylester resins. For this project I’m using West Systems 105/207 make up. One of the nice things with Epoxy is you can throw some heat at it while it’s still wet and flow it out even more and get rid of any little air bubbles that may form. DO NOT try this with regular poly resin or you’ll have a dandy fire. Epoxy is non flammable while Poly resins are!

I then ground out the seam and capped part of the transom by laying 3 layers of 9.5 ounce cloth along with resin and Colloidal Silica (406). The brown that you see is the fairing powder (407) that I added to the resin to get the transom really close to final finish. It still adds some strength but is much easier to sand. Followed that by shooting some DP50 and some K200 I had laying around and blocked that out to the final surface.
PLEASE NOTE! The above was an assumption by me and I was wrong on my application that I'll describe later........grrrrrr
-
10-28-2012, 07:14 AM #3Member
- Join Date
- Oct 2012
- Location
- The frigid north of Silverdale, WA
- Posts
- 54
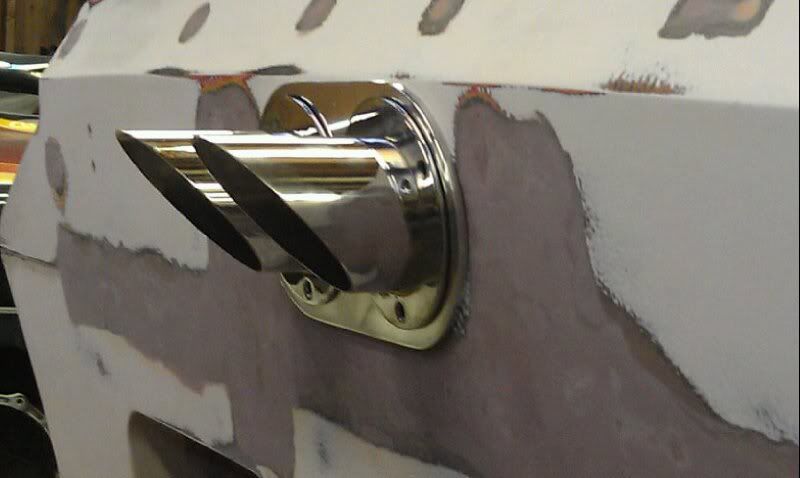
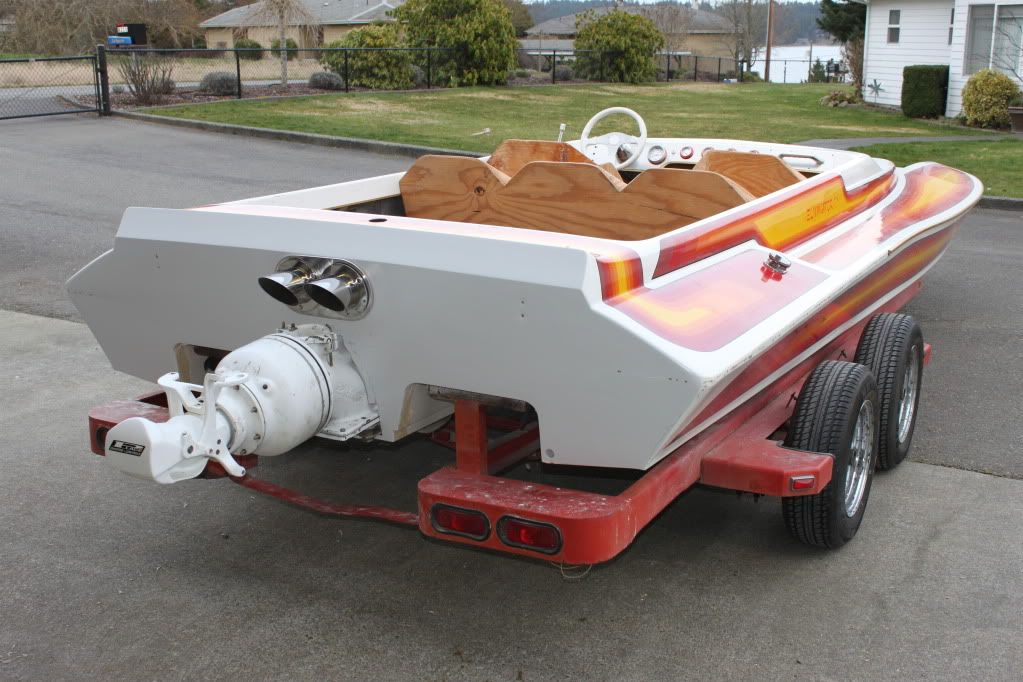
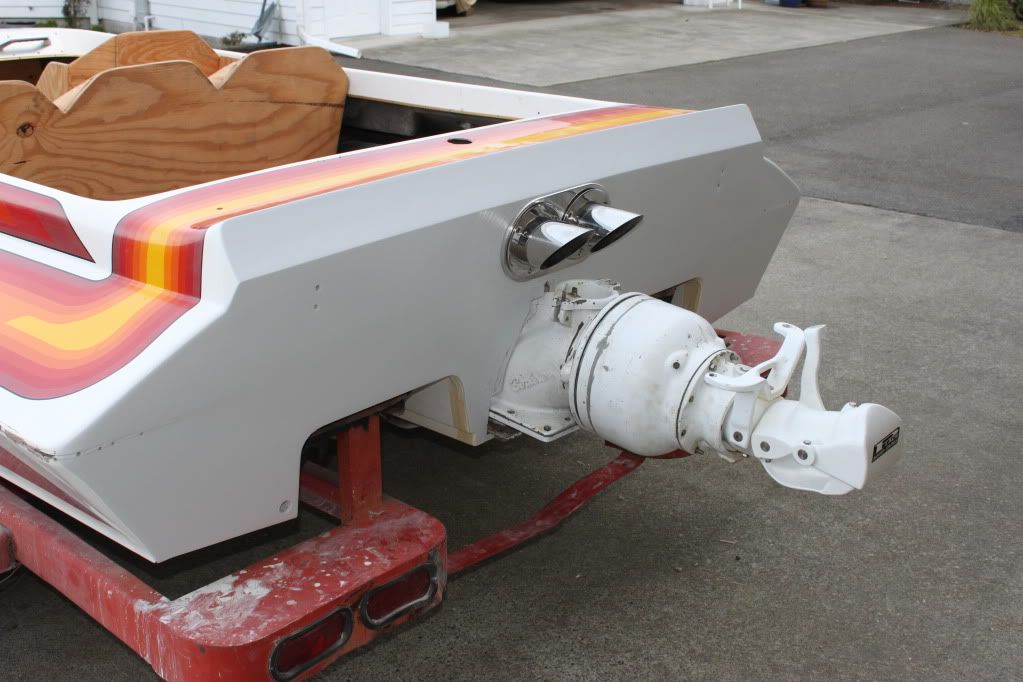
Ian also surprised me with this kick ass plate for my tips. We wanted to shotgun them and have a water jet cut the plate but the damn machine broke so he did it the old fashioned way with a drill, sawzall and files. The look is EXACTLY what I was hoping for.
-
10-28-2012, 07:20 AM #4Member
- Join Date
- Oct 2012
- Location
- The frigid north of Silverdale, WA
- Posts
- 54
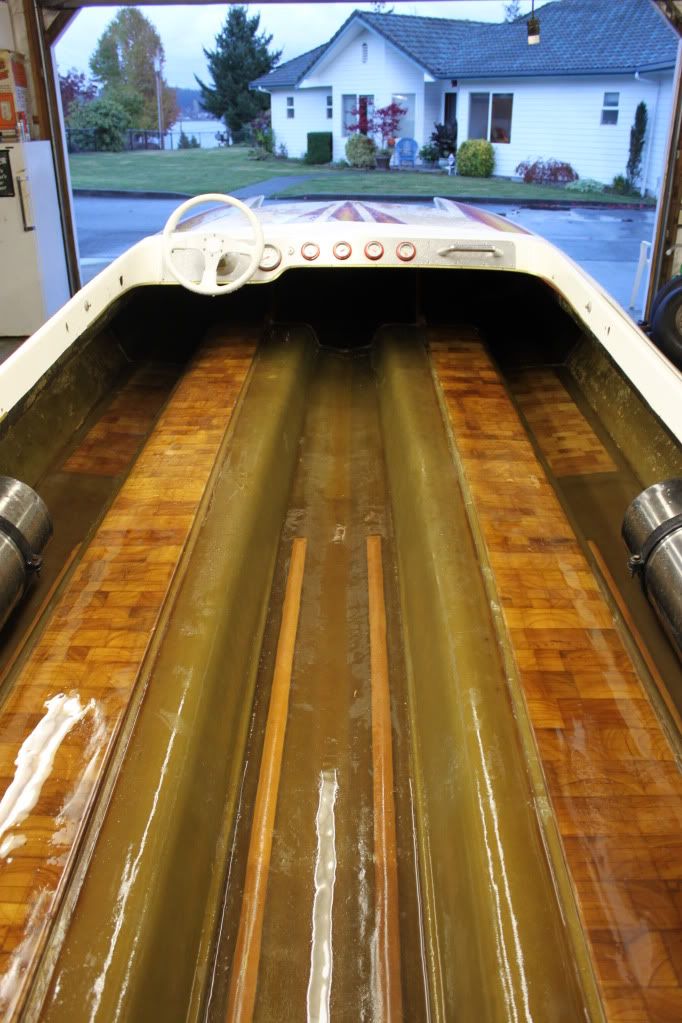
Also got the pedals mounted.
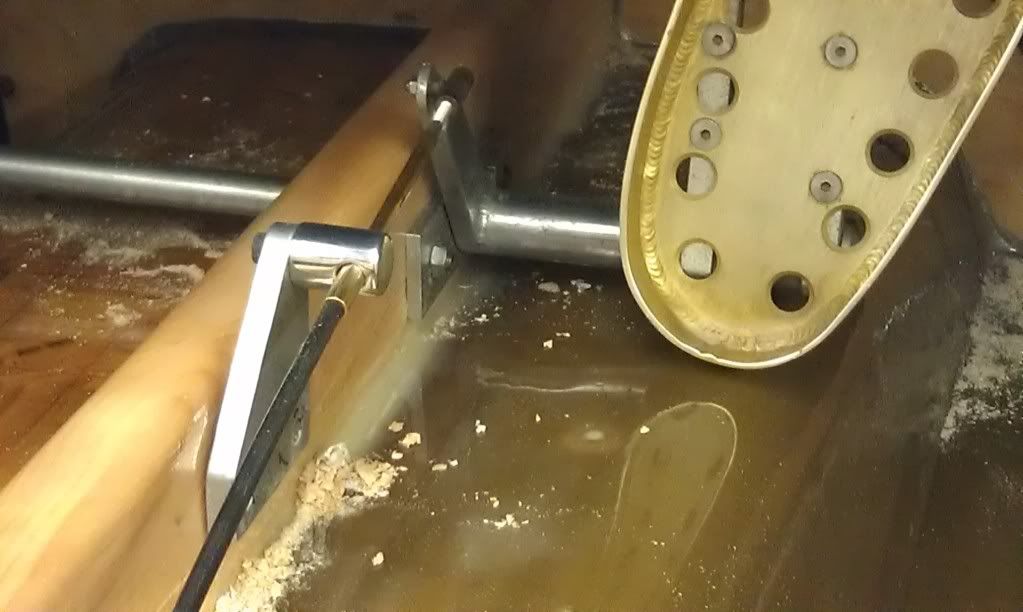
Got the transom and bottom cut for the pump and mocked it up.

Last edited by jrork; 10-29-2012 at 06:29 AM.

 Reply With Quote
Bookmarks